

Assessing Your DIY Skills for Awning Installation
Skill Level Requirements for Awning Projects
Before starting any DIY awning project, take some time to think about how good you really are at this stuff. Newbies should probably stick to something basic first, maybe just putting up a simple canvas cover. People who've done similar work before can handle more complicated installations with different mounting options and materials. The design matters too. Something fancy with multiple panels and special hardware will need more skills than a straightforward setup. Want to get better? There's tons of free help out there. Check out YouTube for actual people showing how they did their own awnings. Some videos even show common mistakes to avoid. Don't rush into anything beyond your ability though. A bad installation now means having to fix it later, which nobody wants.
Time Commitment and Safety Considerations
Estimating how much time an awning installation will take is pretty crucial for anyone tackling this project themselves. Simple models might only need a couple of hours while more complex setups could stretch across multiple days depending on what exactly needs done. Good old fashioned planning helps set realistic expectations and keeps frustration at bay when things don't go according to schedule. Safety should never be overlooked either. Basic protective equipment like work gloves and safety glasses makes all the difference when dealing with hardware and power tools. Don't forget to check out local building codes too. Municipalities often have their own rules about outdoor structures that might require permits or inspections before finalizing installation. Getting ahead of these requirements saves headaches later on and avoids unnecessary delays.
Essential Tools and Materials for Awning Installation
Must-Have Tools for Secure Mounting
A good awning installation starts with getting the right gear together first. What most people need at minimum is a decent drill, a reliable level, a tape measure, plus those concrete anchors if mounting on hard surfaces. Without these basics, things tend to go sideways pretty quickly. Spending a bit extra on better quality tools actually pays off in the long run since cheaper alternatives often break or just don't do the job properly. Safety becomes a bigger concern too when working with subpar equipment. Always check what the tool maker says about proper usage before diving in. Following those guidelines keeps accidents away and makes sure everything functions correctly throughout the whole project. Honestly, anyone who has ever struggled with flimsy tools knows that good equipment makes all the difference between frustration and satisfaction when putting up something like an awning.
Choosing Quality Hardware and Weatherproofing Supplies
Hardware matters just as much as the right tools when installing an awning. Good quality bolts and screws really count because they keep everything stable and safe for years down the road. Going with top notch hardware means the whole setup can handle whatever weather throws at it. Weatherproofing shouldn't be overlooked either. Look for stuff like rust proof fittings and fabric that stands up to UV damage these materials make a big difference in how long the awning lasts before needing repairs. Check out what other people say about different brands online. Real world experiences often point to companies known for solid hardware and good weather protection. Focus on these details and the awning will stay strong through many seasons, providing reliable shade whenever needed without constant maintenance headaches.
Step-by-Step Guide to Installing an Awning
Pre-Installation Preparation: Measuring
Getting good measurements right from the start makes all the difference when installing an awning. Grab your basic tools first – we're talking tape measure, level, maybe even a pencil for marking spots. Measure out the width, height, and how far back the awning needs to extend from the wall. These numbers really matter because if they're off just a little bit, the whole thing might not fit right or work as it should later on. If possible, get someone else to help out during this part. Two sets of eyes catch mistakes faster than one, especially since nobody wants to waste time redoing everything after things go wrong.
The preparatory phase really does require patience. When people rush through their measurements, they often end up paying for it later with things like bad fits or components that don't align properly with what's already there. Spending extra time getting everything right from the start saves headaches down the road when nobody wants to deal with adjusting pieces or placing orders again. Good preparation before installation makes all the difference, ensuring smoother progress overall rather than facing those annoying delays and problems that come from cutting corners.
Mounting Brackets and Securing the Frame
Getting those brackets mounted right really matters if we want our awning to work well and look good too. Start off by putting marks on the wall where each bracket should go, making sure they match up with that reference line drawn earlier when setting things up. These brackets need to sit flat and straight across the wall, spaced out evenly so everything stays stable once the awning goes on. Grab a level tool and a pencil to get those marks just right. A little extra time here makes all the difference later on when dealing with wind or rain.
Getting the frame secured properly means paying close attention to those manufacturer guidelines. Many people mess up right here because they position brackets wrong, which can leave the whole awning wobbling like a ship in rough seas. Take time to make sure everything lines up straight before tightening down any bolts according to what the manual says. Properly installed brackets do more than just hold things together structurally. They actually make a big difference in how the finished product looks too. Nobody wants their new awning looking crooked or leaning one way when all done. A little extra care at this stage saves headaches later on.
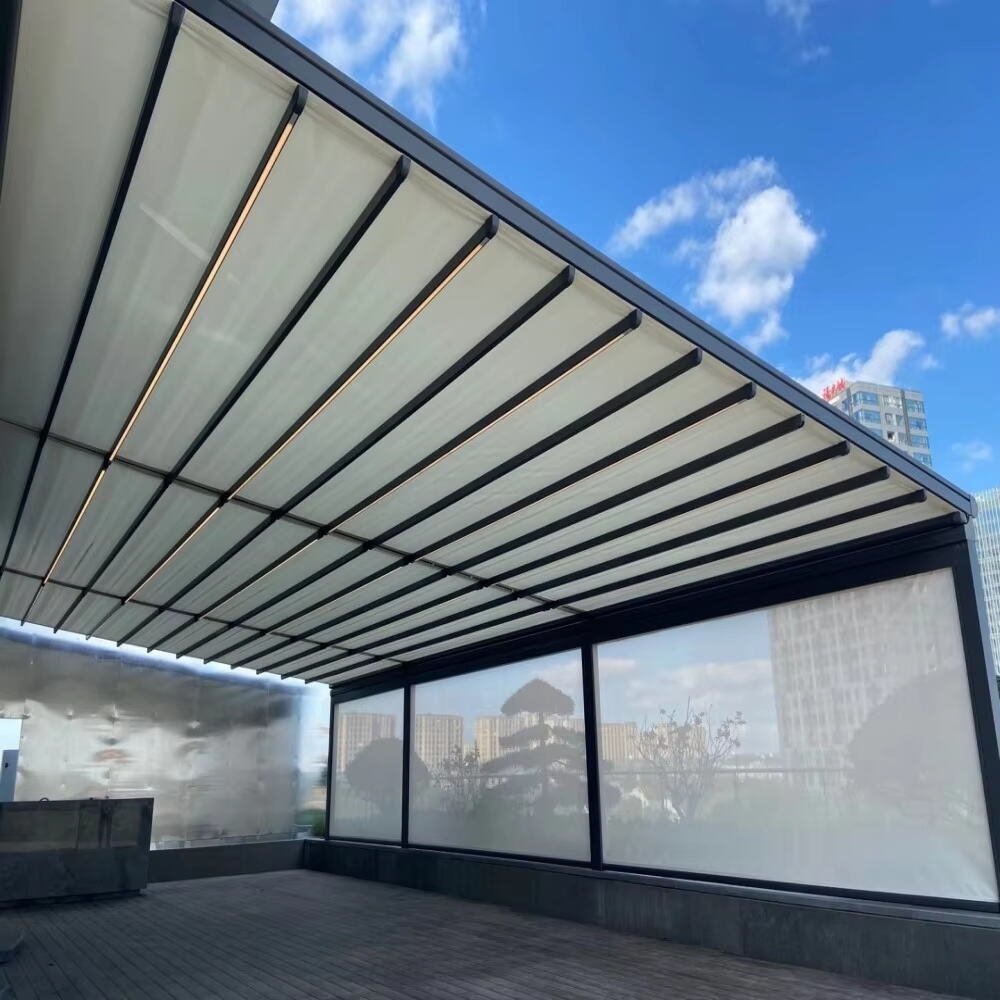
Attaching the Awning Fabric or Canopy
Getting that awning fabric attached right takes some care if we want everything to look good and last long. First things first, check out the installation guide that came with the product. It shows exactly where those fasteners need to go for a solid hold. We're aiming for something tight enough so there are no bumps or sags showing through. Wrinkles just invite trouble down the road as they'll wear out faster than flat sections. Getting the tension right makes all the difference. The fabric will hold up better against weather when pulled tight, plus nobody wants their awning looking droopy after just a few weeks on the market.
When people follow what the manufacturer says about attaching fabric, they generally get better results because everything goes smoother. Most instruction manuals actually have some pretty good advice on how tight the fabric should be so it doesn't sag over time. The folks who make these products know what works best from experience. If someone skips around in the directions or ignores them completely, their installation might look okay at first but problems tend to show up later when rain gets through or the fabric starts stretching unevenly. A properly installed cover not only lasts longer but also looks much nicer in the yard or patio area where it sits day after day.
Common Challenges and How to Overcome Them
Dealing with Uneven Surfaces or Alignment Issues
A real headache during awning installation often comes from dealing with uneven ground or alignment snags. Take a good look at where the awning will go before getting started, checking for any areas that might cause alignment problems down the road. Look out for things like noticeable slopes or spaces between walls and support structures that could spell trouble later on. When faced with these issues, most folks find that shimming materials or going with adjustable mounting hardware works wonders for leveling things out and making sure everything fits right. Getting the alignment correct matters beyond just how it looks too. Proper alignment affects how well the awning functions day to day and how long it lasts overall. Spending extra time upfront fixing these small problems pays off handsomely in the long run.
Ensuring Proper Weatherproofing and Drainage
Getting an awning that stands up to bad weather and drains well makes all the difference in how long it lasts. When properly protected against rain and sun, most awnings will last years longer while keeping their good looks intact. A small slope in the installation helps water run off instead of pooling on top where it can eventually rot the fabric or frame. Many installers recommend just a gentle angle so water doesn't sit around causing problems down the road. Following these basic tips not only keeps the awning working better for longer but also means fewer repairs and replacements over time, which saves money in the end.
Maintaining Your Awning for Longevity
Routine Cleaning and Inspection Tips
Keeping an awning clean and checking it regularly helps extend its life and keeps it looking good for longer. Without proper maintenance, dirt, mildew, and all sorts of outdoor grime will start building up on the fabric, which eventually breaks down the material. Most folks find that mixing some gentle soap with warm water works best. Grab a soft brush and give the surface a light scrubbing. Pay extra attention to spots where moisture tends to collect since those are the prime locations for mold and mildew growth. Steer clear of strong chemical cleaners or anything with stiff bristles because these can actually tear at the fibers in the fabric over time.
Beyond regular cleaning, setting up some kind of seasonal checkup makes sense for spotting early signs of wear and tear. When doing these checks, look closely at all the metal parts for any rust spots, bolts that might be coming loose, or other structural problems that could weaken the whole thing over time. Most folks find it works best to do this checkup at least once per season, fixing small issues right away before they turn into bigger headaches down the road. Taking care of maintenance like this keeps the awning looking good while making sure it actually does what it's supposed to when needed most.
Seasonal Maintenance for Year-Round Protection
Seasonal maintenance really matters when it comes to keeping an awning protected throughout the whole year. Winter brings its own problems with all that snow piling up, while summer heat can cause different kinds of wear and tear on materials. Creating separate checklists for what needs attention during each season makes sense for proper care. Take autumn as an example time to clean off those leaves and other stuff that falls onto the fabric before they start causing permanent stains or structural issues down the road.
During those wet months of spring and summer, it makes sense to make sure the awning drain works properly so it can deal with all that rainwater coming down. Also worth checking is whether there are any spots where mold or mildew has started growing on the fabric surface. When winter rolls around things change a bit though. Retracting the awning often becomes necessary just to stop heavy snow buildup from causing damage over time. Good maintenance records really help here too since they remind us what needs doing when across different seasons to maintain optimal performance from our outdoor structures year after year.
Getting a pro to check things out once a year makes sense if we're talking about proper maintenance. These folks spot problems before they become big headaches and actually look at how solid the awning structure remains after all this time. Regular wear and tear just isn't something most people notice until it's too late. What professionals do goes way past simple cleaning or tightening bolts. They know their stuff when it comes to keeping those fabric covers working right while still looking good on the outside. The difference between regular upkeep and letting nature take its course? Well, nobody wants their outdoor space ruined by a collapsed canopy during a summer barbecue.
Frequently Asked Questions
What skills are necessary for DIY awning installation?
The skills required can vary from basic to advanced, depending on the complexity of the project. Beginners should start with simple setups, while more experienced DIYers can handle intricate designs. Enhancing skills through online tutorials is helpful.
How long does it take to install an awning?
The time commitment varies based on project complexity, ranging from a few hours to several days. Proper planning and time management are key.
What tools are essential for awning installation?
Essential tools include a drill, level, tape measure, and concrete anchors. High-quality tools ensure a stable and durable installation.
How can I ensure my awning is weatherproof?
Using weather-resistant materials like rust-resistant fixtures and UV-resistant fabrics helps ensure weatherproofing.
Why is routine maintenance important for awnings?
Routine maintenance prolongs the awning's life, prevents damage from environmental factors, and ensures continued functionality and aesthetic appeal.